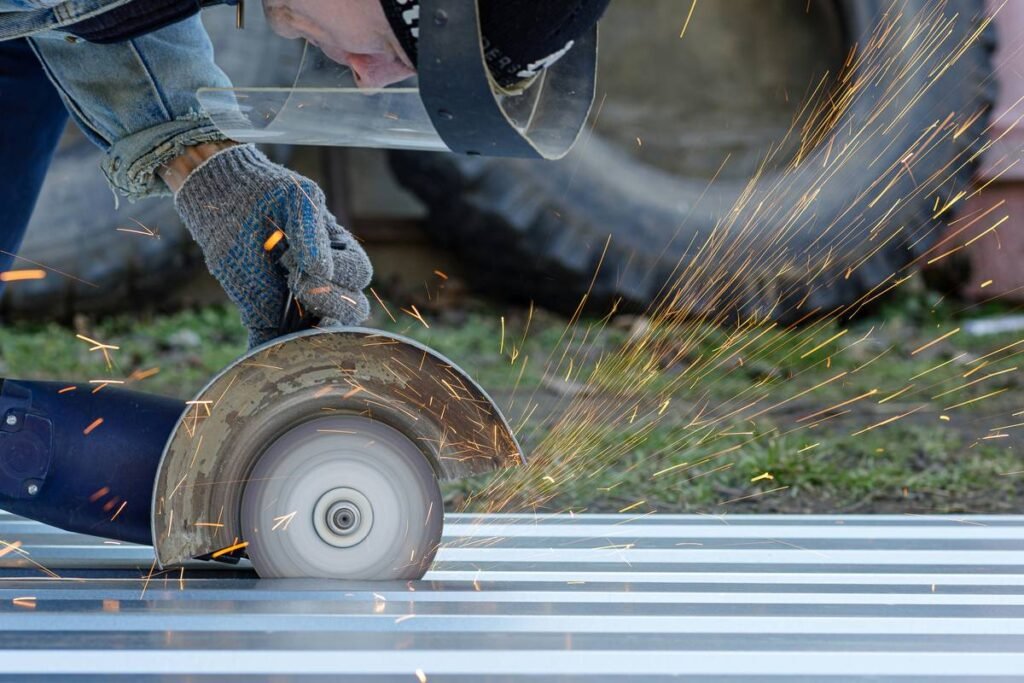
Struggling with uneven weld seams, stubborn rust patches, or inconsistent finishes on metal surfaces? You’re not alone. Most DIYers—and even some pros—reach for flap discs or grinding wheels by default, only to end up with gouges, heat damage, or hours of rework. The real solution? A strip disc abrasive wheel. It’s faster, cooler-running, and delivers a finish you can’t fake.
Why Standard Abrasives Fail on Contoured or Delicate Metal
Flap discs look sleek—but they lie. Their rigid backing forces uneven contact on curved surfaces. Grinding wheels? Brutal. They remove material fast but generate insane heat, warping thin metal or annealing tool steel unintentionally.
And wire brushes? They just smear contaminants around instead of removing them. Think about it: if your workpiece is a motorcycle exhaust pipe or a handrail joint, geometry defeats flat-backed abrasives every time.
How to Master the Strip Disc Abrasive Wheel (Step-by-Step)
Using a strip disc abrasive wheel isn’t just about mounting it and going full throttle. Technique separates hacks from craftsmen.
Select the Right Arbor and RPM
Most strip discs use 5/8″-11 or M14 arbors. Match it to your angle grinder. Crucially—run it between 8,000–12,000 RPM. Too slow? Inefficient cutting. Too fast? Strips fray instantly.
Choose Grit Based on Your Goal
Rough blending welds? Start with 36–60 grit. Final smoothing before painting? Jump to 80–120. Never skip more than two grit steps—unlike sandpaper, these discs don’t “sand”; they shear.
Angle and Pressure Matter—A Lot
Hold your grinder at 5°–15° off the surface. Let the disc kiss the metal—don’t press. These strips flex; force causes premature wear and chatter marks. Light, sweeping passes win every time.
| Method | Surface Contact | Heat Buildup | Finish Consistency | Best For |
|---|---|---|---|---|
| Strip Disc Abrasive Wheel | Flexible, conforming | Low | High (uniform) | Curved metal, weld blending, prep for coating |
| Flap Disc | Semi-rigid | Moderate | Medium (edges wear faster) | Flat surfaces, general deburring |
| Grinding Wheel | Rigid, full contact | Very High | Low (aggressive, uneven) | Heavy stock removal, not finishing |
| Wire Cup Brush | Variable | Low | Poor (smears, doesn’t cut) | Loose rust, light cleaning only |

The Industry Secret: Layer Density > Grit Number
Here’s what manufacturers won’t tell you: on strip discs, layer count matters more than grit rating. A 60-grit disc with 120 densely packed nylon strips outperforms a sparse 40-grit with 60 strips—every time.
Why? More strips = more cutting edges sharing the load. Less heat per fiber. Longer life. Smoother finish. I once ran a side-by-side test on marine-grade aluminum railings—a high-density 80-grit strip disc left a satin sheen in half the passes of a “coarser” low-density 36-grit. The math is simple: surface engagement beats brute aggression.
But most catalogs bury this spec. Ask your supplier for “strip count per square inch.” If they hesitate—they’re selling junk.
Frequently Asked Questions
Can a strip disc abrasive wheel be used on wood or plastic?
No. These are engineered for metal. On soft materials, they’ll clog instantly or melt thermoplastics from friction—even at low RPM.
How long does a typical strip disc last?
Depends on density and pressure—but under proper use, expect 20–40 minutes of active runtime on steel. Watch for frayed tips or reduced cutting speed as failure signs.
Do I need a backing pad for a strip disc abrasive wheel?
Absolutely not. That’s the point—they attach directly to the arbor. Adding a pad kills flexibility and defeats their purpose.

Stop wrestling with tools that fight your workpiece’s shape. The strip disc abrasive wheel isn’t just another consumable—it’s your shortcut to pro-level metal finishing without the learning curve. Grab a high-density pack from a trusted brand, dial in your angle, and feel the difference on your next weld blend. Ready to upgrade your metal prep game? Explore our curated toolkit at rlb-consult.com.