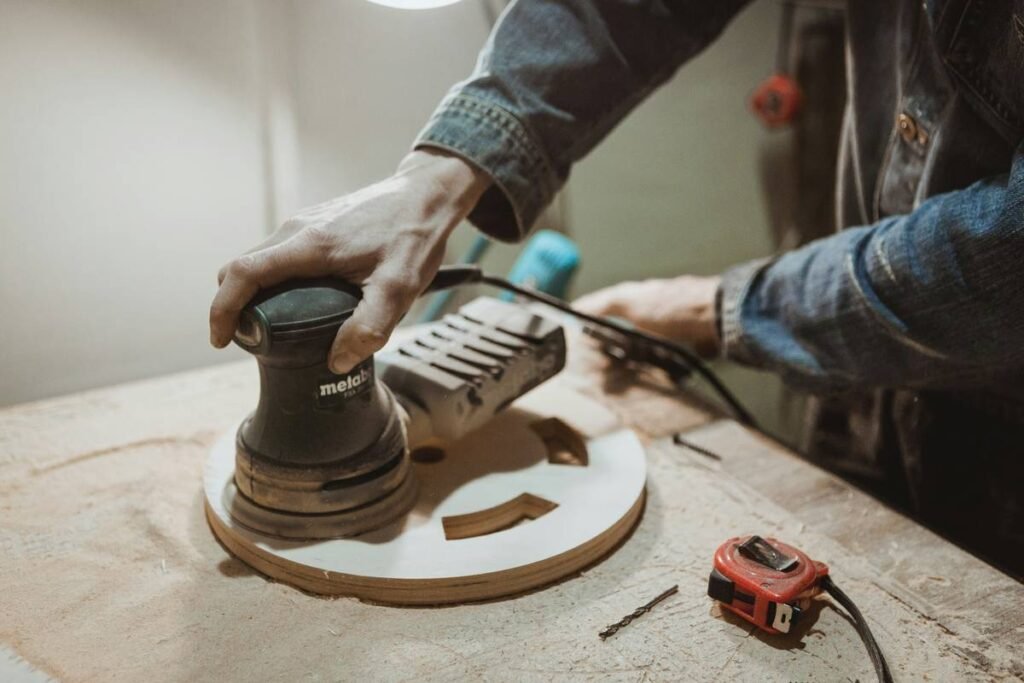
Ever spent 45 minutes sanding a wooden tabletop only to find deep swirl marks that look like a toddler took a cheese grater to it? Yeah. That was me—last Tuesday—with the wrong abrasive disc pad. I’d grabbed whatever was in the garage labeled “sanding,” slapped it on my random orbital sander, and cranked it up. Spoiler: It wasn’t “fine.”
If you’re knee-deep in a DIY renovation, furniture build, or metal fabrication side hustle, choosing between a diy project abrasive disc pad or another backing option isn’t just technical—it’s make-or-break for your finish, your tool’s lifespan, and your sanity.
In this guide, you’ll learn:
- Why hook-and-loop vs. pressure-sensitive adhesive (PSA) matters more than grit alone
- How substrate material (wood, metal, plastic) dictates your pad choice
- Real-world trade-offs between speed, finish quality, and cost
- A brutal truth about “universal” pads (they don’t exist)
Table of Contents
- Why Your DIY Project Lives or Dies by the Pad You Pick
- Step-by-Step: Picking the Right Abrasive Disc Pad for Your Material
- Pro Tips: Avoiding Common Pitfalls (Like Burning Through $20 in Discs in 10 Minutes)
- Case Study: Restoring a Vintage Metal Desk Without Scratching the Patina
- FAQs About DIY Project Abrasive Disc Pads
Key Takeaways
- Hook-and-loop pads offer quick disc changes and are ideal for multi-step finishing jobs.
- PSA (pressure-sensitive adhesive) pads provide superior grip for aggressive stock removal but aren’t reusable.
- Never use a worn, glazed, or clogged disc—even with the “right” pad. It creates heat, not cut.
- Grit progression (e.g., 80 → 120 → 220) is useless if your pad doesn’t match your sander type and task.
- Always match pad hardness to your material: soft pads for contours, hard pads for flat surfaces.
Why Your DIY Project Lives or Dies by the Pad You Pick
Here’s a truth most big-box hardware stores won’t shout from the rafters: the abrasive disc itself is only half the equation. The backing pad—the cushioned interface between your sander and the abrasive—is what actually determines how evenly pressure is distributed, how much heat builds up, and whether your surface ends up silky-smooth or scarred for life.
I learned this the hard way while refinishing a set of mid-century dining chairs. I used a stiff PSA pad meant for metal grinding on cherry wood legs. Result? Burnt wood, tear-out, and a weekend wasted re-sanding with a softer hook-and-loop setup.
According to the American National Standards Institute (ANSI), abrasive systems must be matched not just to material but to the backing interface to ensure consistent performance and safety (ANSI B74.18-2020). Translation: slapping any old disc on any old pad = Russian roulette for your workpiece.
Step-by-Step: Picking the Right Abrasive Disc Pad for Your Material
Step 1: Identify Your Sander Type
Is your tool a random orbital, belt, disc, or straight-line sander? Most DIYers use random orbitals, which almost always require either hook-and-loop or PSA pads.
- Hook-and-loop (Velcro-style): Reusable, quick-change, cooler operation. Best for finishing.
- PSA (sticky-back): Permanent bond, zero slippage, higher torque tolerance. Best for heavy stock removal.
Step 2: Match Pad Hardness to Your Surface
Backing pads come in soft, medium, and hard densities (measured in durometer).
- Soft pad (≤60A durometer): Conforms to curves—ideal for handrails, table edges, or auto bodywork.
- Hard pad (≥80A durometer): Keeps surface flat—perfect for cabinet doors, metal plates, or hardwood floors.
Grumpy You: “Ugh, fine—but only if coffee’s involved.”
Optimist You: “Follow these tips and your finish will look pro-level!”
Step 3: Consider Heat and Clogging
Aggressive sanding generates heat. Soft pads absorb vibration but trap heat; hard pads dissipate it better. For metal or dense hardwoods, opt for a ventilated hard pad with open-coat abrasives to reduce loading.
Pro Tips: Avoiding Common Pitfalls (Like Burning Through $20 in Discs in 10 Minutes)
- Never reuse a glazed disc. If it feels slick or shiny, it’s spent. Glazing = no cutting action + excess heat.
- Clean pads regularly. Use a rubber pad cleaner or compressed air to remove embedded dust—especially after drywall or MDF work.
- Match grit progression to pad type. Start coarse (60–80 grit) with a hard PSA pad for fast removal, then switch to a soft hook-and-loop pad with 150+ grit for final smoothing.
- Don’t overtighten clamps. Excessive pressure flattens the pad, kills conformity, and increases swirl marks.
⚠️ Terrible Tip Disclaimer
“Just use duct tape to hold the disc on”—NO. This is a fire hazard, voids tool warranties, and risks disc ejection at high RPMs. Seriously. Don’t.
Rant Section: My Pet Peeve
Why do manufacturers still label pads as “universal”? There’s no such thing! A 5-inch pad for Makita ≠ a 5-inch pad for DeWalt—the hole pattern, hub size, and thread pitch differ. Always check your sander’s manual first. (Looking at you, Brand X.)
Case Study: Restoring a Vintage Metal Desk Without Scratching the Patina
Last summer, I restored a 1940s steel drafting desk for a client. Goal: remove rust without erasing decades of character.
Challenge: Standard coarse discs would obliterate the aged patina. But light sanding wouldn’t touch the rust.
Solution:
- Used a medium-density (70A) hook-and-loop pad on a low-RPM orbital sander
- Paired it with non-woven abrasive discs (Scotch-Brite™ equivalent) in 120 grit
- Worked in small sections with light pressure—letting the abrasive do the work
Result? Rust gone, patina preserved, client thrilled. Total time: 3 hours (including coffee breaks).
FAQs About DIY Project Abrasive Disc Pads
Can I use a hook-and-loop disc on a PSA pad?
No. The backing systems are incompatible. Hook-and-loop requires a fuzzy pad; PSA needs a sticky surface. Mixing them causes slippage or poor adhesion.
How often should I replace my abrasive pad?
Every 20–30 hours of use, or sooner if it’s cracked, hardened, or loses cushioning. A degraded pad causes uneven sanding—even with new discs.
Are expensive pads worth it?
Yes—if you’re doing precision work. Brands like Mirka, Festool, and Norton use heat-resistant urethane that lasts 3x longer than generic pads. For occasional DIY? Mid-range (e.g., Bosch, 3M) is fine.
What’s the best pad for wet sanding?
Use only water-resistant hook-and-loop pads rated for wet/dry use. Standard pads swell and delaminate when wet.
Conclusion
Choosing the right diy project abrasive disc pad or alternative isn’t about brand loyalty or price tags—it’s about understanding the physics of abrasion, your material, and your tool. Whether you’re smoothing walnut shelves or deburring aluminum brackets, the pad beneath the disc silently steers your success.
Remember: soft for curves, hard for flats; hook-and-loop for versatility, PSA for power. And never, ever duct-tape your abrasives.
Now go forth—and sand like someone who’s burned through three workbenches learning this stuff firsthand.
Like a Tamagotchi, your sander’s pad needs daily care. Neglect it, and your finish dies.