You bought a heavy-duty angle grinder. You’ve got sparks flying. But the cut’s ragged, the surface is gouged, and your disc wears out faster than your patience. Sound familiar? Most DIYers and even seasoned tradespeople treat the angle grinder disc tool like an afterthought—just another consumable. That’s where everything goes wrong. The truth? Your disc isn’t just a blade—it’s the brain of the operation.
Why 9 Out of 10 Angle Grinder Projects Fail Before They Start
People blame the motor, the RPMs, their technique. Rarely do they look at the disc itself. And that’s fatal. A mismatched or low-grade disc doesn’t just underperform—it actively sabotages your work. It vibrates unpredictably, overheats steel, and can even fracture mid-spin. I’ve seen professionals ruin stainless steel exhaust manifolds because they used a generic “cut-off” disc meant for mild steel. Wrong chemistry. Wrong bond. Wrong outcome.
Here’s the reality: Not all abrasive discs are interchangeable. Not even close.
Choosing and Using the Right Angle Grinder Disc Tool
Picking the right disc isn’t guesswork—it’s material science meets practicality. Follow this streamlined system.
Step 1: Match the Disc Type to Your Task
Cutting? Grinding? Deburring? Each demands a specific disc geometry and abrasive compound. Use grinding discs for smoothing welds—not cutting pipes. Cut-off wheels are thin and brittle; never use them for side grinding. It’s not just ineffective—it’s dangerous.
Step 2: Decode the Label Like a Pro
Look past flashy branding. Find the RPM rating (must match or exceed your grinder’s max speed), the material compatibility icon (e.g., stainless steel symbol ≠ carbon steel), and the bond type (resin vs. vitrified). Ignore these, and you’re rolling dice with safety.
Step 3: Install It Correctly—No Shortcuts
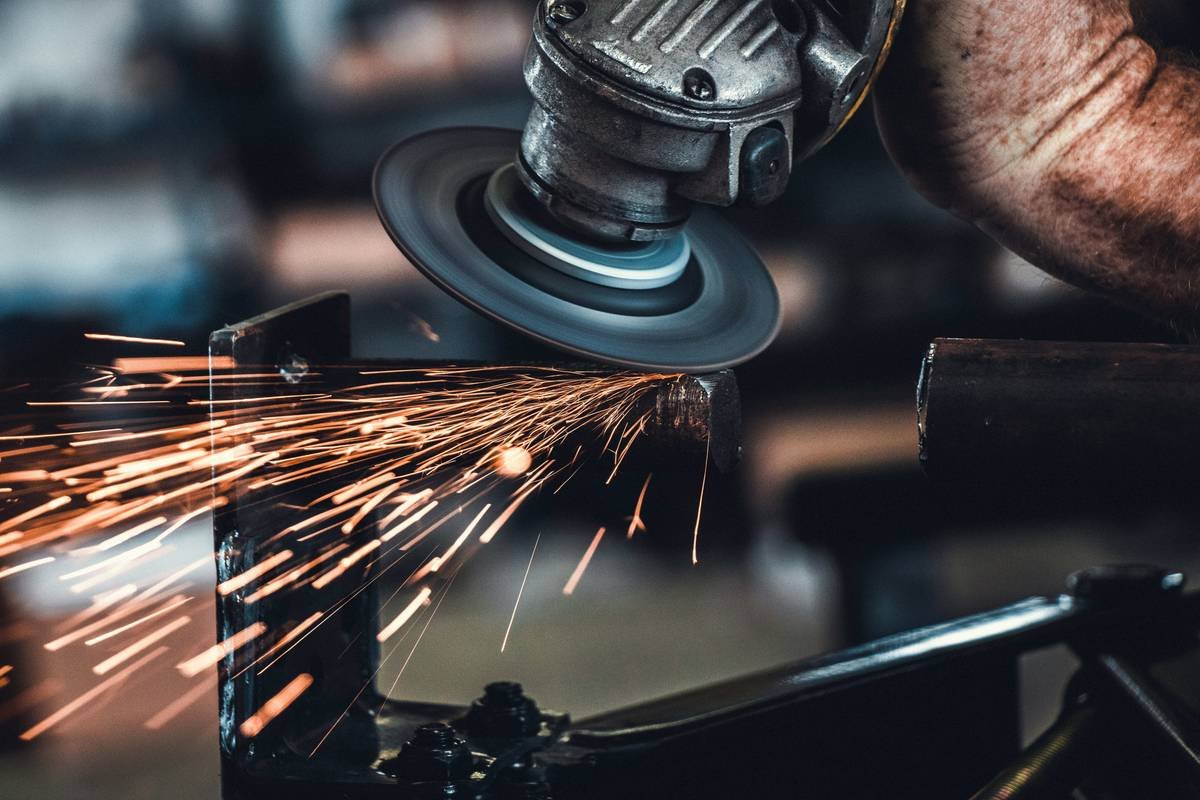
Hand-tighten the flange nut—then give it a quarter-turn with the wrench. Over-torquing cracks the disc. Under-torquing lets it wobble. Both cause catastrophic failure. And always run new discs at idle for 30 seconds behind a guard before touching metal.
| Disc Type | Best For | Average Lifespan (Mild Steel) | Risk of Misuse |
|---|---|---|---|
| Resin-Bonded Cut-Off Wheel | Precise metal cutting (pipe, rebar) | 8–12 linear feet | High (never use for grinding) |
| Zirconia Flap Disc | Contour grinding, weld blending | 45–60 minutes runtime | Low (versatile but slower cut) |
| Ceramic Abrasive Disc | Aggressive stock removal on hard alloys | 25–40 minutes runtime | Medium (overheats soft metals) |
| Diamond-Tipped Segmented | Masonry, tile, stone | 200+ cuts (concrete) | Extreme (never use on ferrous metal) |
The Industry Secret: Disc “Break-In” Is Real—And Critical
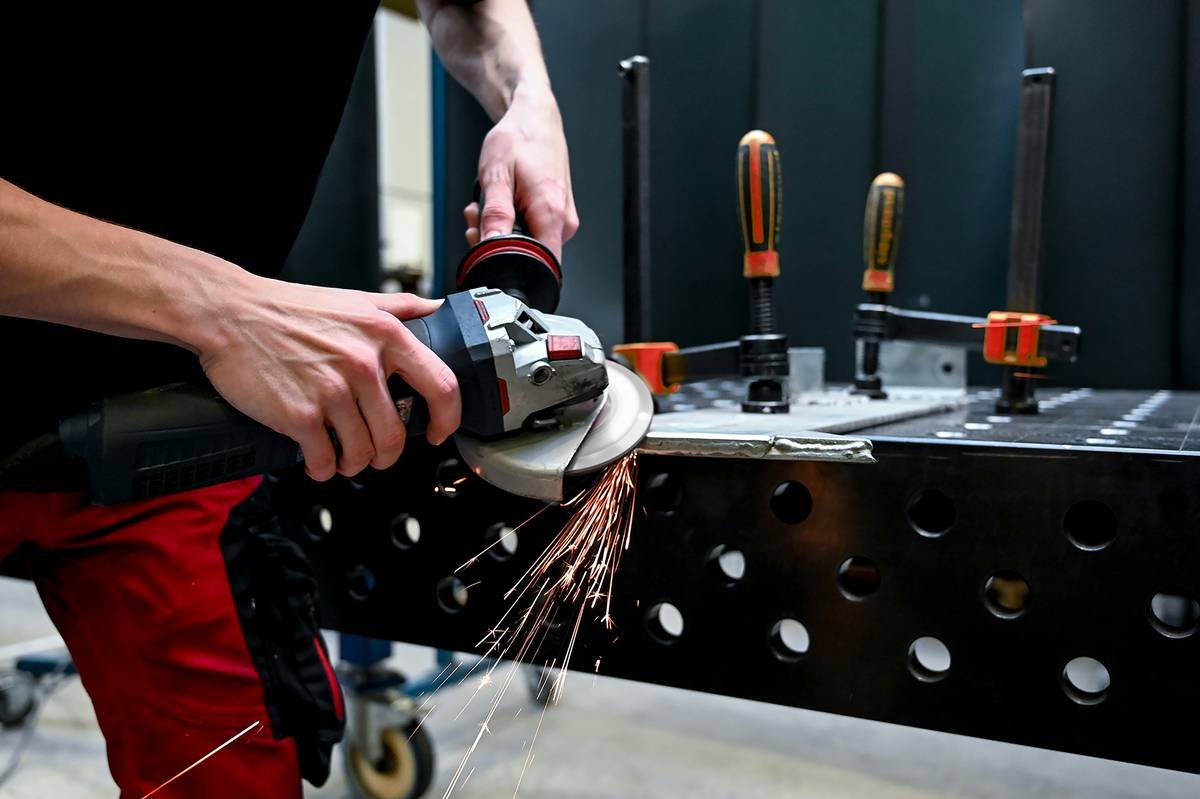
Most users slap on a new disc and go full throttle. Big mistake. High-performance abrasive grains need a controlled “break-in” period to expose fresh cutting edges evenly. Here’s what top-tier fabricators do: They run the disc against a scrap piece of matching material at 50% pressure for 60 seconds. This micro-fractures the surface uniformly, preventing hot spots and uneven wear. Skip this—and you’ll get chatter marks, reduced life, and inconsistent finish quality. It’s a 60-second ritual that pays off in precision and safety.
Frequently Asked Questions
Can I use an angle grinder disc tool on wood?
No. Wood clogs abrasive grains instantly—and high-RPM grinders can ignite sawdust. Use sanding drums or carving bits instead.
Why does my disc shatter during use?
Usually from overtightening, using a damaged disc, or exceeding RPM limits. Always inspect for cracks and match speed ratings exactly.
How often should I replace my angle grinder disc tool?
Immediately if chipped, warped, or worn below the label diameter. Don’t push worn discs—they become unbalanced and hazardous.