You’ve spent hours building that coffee table—only to ruin the finish with swirl marks and uneven patches because your “off-the-shelf” sanding disc shredded the grain. And now? You’re stuck redoing work you thought was done. Here’s the fix: forget brute force. Precision, disc selection, and technique—not power—make or break a sanding disc diy job.
Why Most DIY Sanding Jobs Fail (Hint: It’s Not Your Skill)
Hardware store bins overflow with abrasive discs branded as “universal.” They’re not. Most home users grab whatever fits their sander, slap it on, and crank the RPMs. Big mistake. Using a coarse grit meant for stripping paint on bare oak is like using a chainsaw to carve ice—fast, destructive, and impossible to control.
And here’s what no one tells beginners: heat buildup from the wrong disc melts wood resins, clogs pores, and creates a glaze that repels stain. You’ll never get an even tone. The real problem isn’t technique—it’s mismatched abrasives.
sanding disc diy: Step-by-Step Mastery
Forget random passes. Follow this sequence, and you’ll skip 80% of common rework.
Pick the Right Backing Pad First
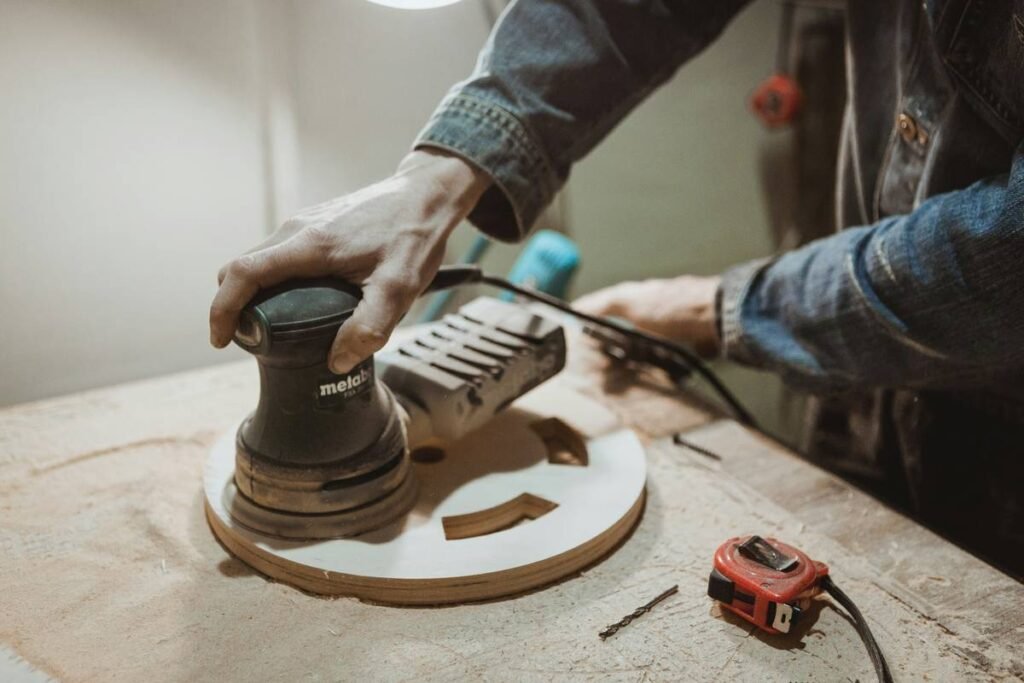
Your hook-and-loop pad must match your sander’s orbit size. A 5-inch random orbital demands a soft, flexible pad. Rigid pads = chatter marks. Period.
Grit Progression Isn’t Optional
Jumping from 80 to 220 grit leaves deep scratches invisible until you apply finish. Always step through intermediate grades—120, then 150—especially on hardwoods like maple or walnut.
Dust Extraction Saves Time
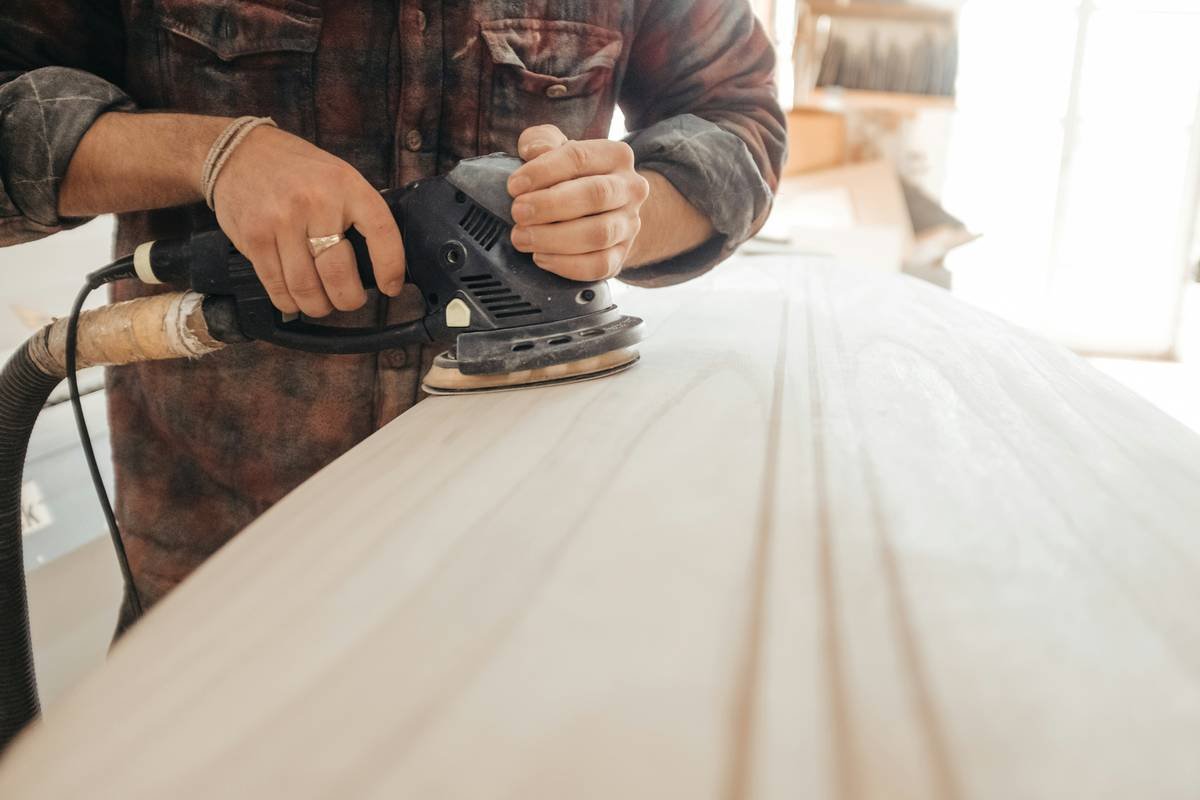
Clogged discs lose cutting power in minutes. Use a sander with vacuum ports. No extraction? Stop every 90 seconds to clean the disc with a gum-rubber cleaner stick.
| Abrasive Type | Best For | DIY Cost per Disc | Lifespan (Est.) |
|---|---|---|---|
| Aluminum Oxide | Wood, drywall, metal prep | $0.40–$0.90 | 15–25 mins active use |
| Zirconia Alumina | Heavy stock removal, hardwoods | $1.20–$2.00 | 40–60 mins active use |
| Ceramic Alumina | Professionals only—aggressive but brittle | $2.50+ | Varies wildly; not beginner-friendly |
Pressure Matters More Than Speed
Let the abrasive do the work. Pressing hard slows rotation, increases heat, and burns the surface. Light, consistent pressure = smooth results.
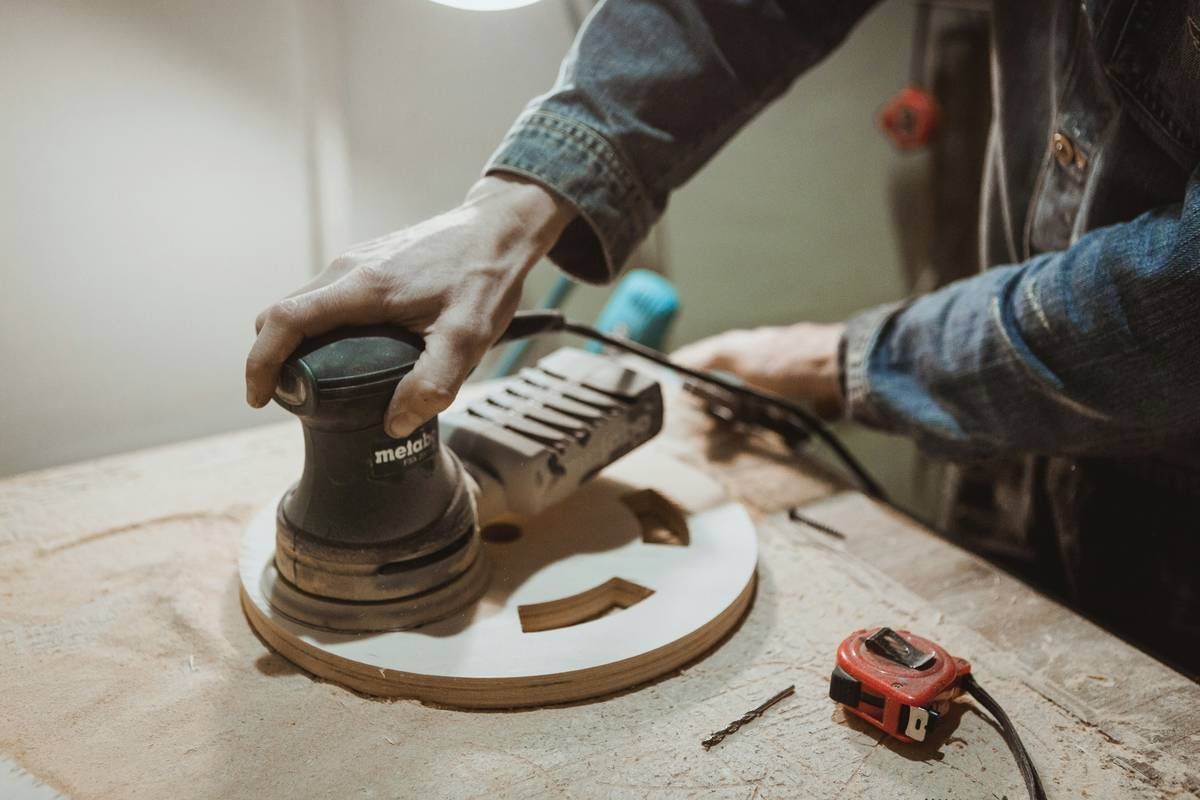
The Industry Secret: “Break-In” Your Discs
Pros don’t use new discs straight out of the pack on final surfaces. Instead, they “break in” each fresh disc by running it over scrap wood for 30 seconds. Why? Factory coatings and microscopic inconsistencies cause initial scratching. That break-in period evens out the cutting surface—giving you a truer finish from the first pass. Most DIYers skip this and blame the tool. Don’t be most DIYers.
FAQ
What grit should I start with for raw wood?
For hardwoods, begin at 120 grit. Softwoods like pine? Start at 150 to avoid tear-out. Never jump more than two grit levels between passes.
Can I reuse sanding discs?
Only if they’re not clogged or glazed. Tap them clean or use a rubber eraser-style cleaner. Once the abrasive dulls or edges fray, toss it—cheap discs cost less than your time fixing mistakes.
Is a random orbital sander necessary for sanding disc diy?
Yes. Belt or straight-line sanders leave directional scratches. Random orbitals eliminate swirls through dual-action motion—non-negotiable for visible surfaces.