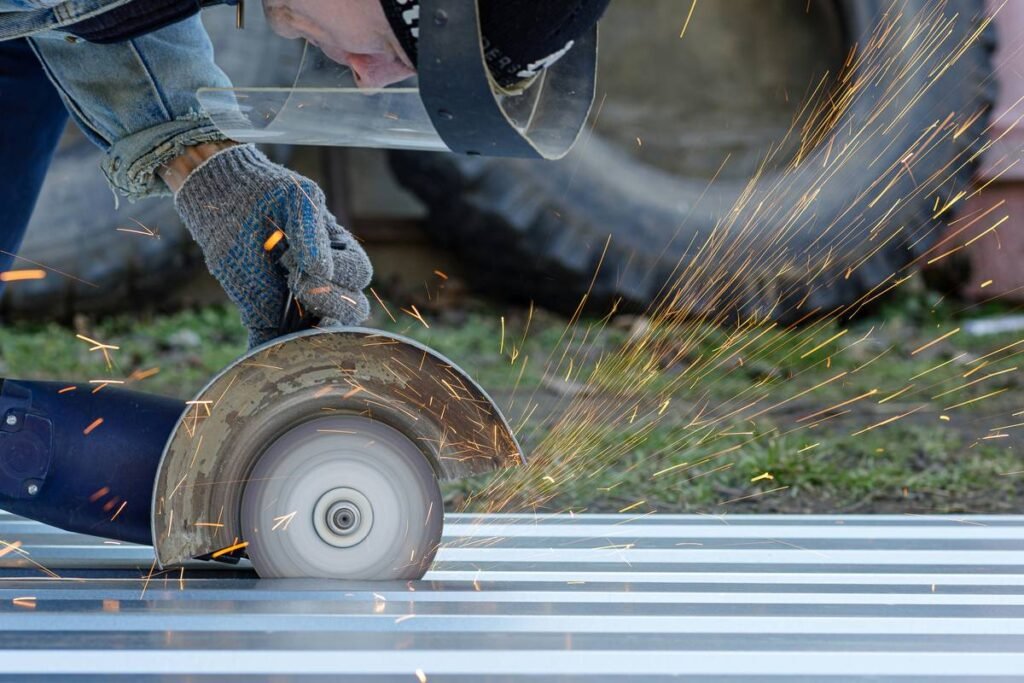
Ever tried sanding glass with a standard metal-cutting disc and ended up with a glittery crime scene? Yeah. We’ve all been there—standing over a cracked windshield edge or a shattered mirror, wondering why no one warned us that “abrasive” doesn’t mean “universal.”
If you’re cutting, grinding, or smoothing glass—whether it’s for DIY shower doors, art projects, or automotive repairs—you need an abrasive disc for glass engineered specifically for its brittle, heat-sensitive nature. One wrong move, and your workpiece goes from sleek to shards.
In this guide, you’ll learn exactly how to pick, use, and avoid catastrophic fails with abrasive discs on glass. We’ll dive into:
- Why standard abrasive discs destroy glass (and what physics is at play)
- The 3 non-negotiable specs for safe glass grinding
- Real-world examples from stained-glass studios and auto shops
- Brutally honest tool recommendations (plus one “terrible tip” to never try)
Table of Contents
- Why Glass Is a Pain to Grind (And Why Most People Fail)
- How to Choose the Right Abrasive Disc for Glass: A Step-by-Step Guide
- Best Practices That Prevent Cracks, Chips, and Cuss Words
- Real-World Successes (and One Bloody Knuckle Story)
- FAQs About Abrasive Discs for Glass
Key Takeaways
- Never use aluminum oxide or standard flap discs on glass—they generate too much heat and cause microfractures.
- Diamond-coated abrasive discs are the gold standard for glass; look for “resin-bonded” and “continuous rim” designs.
- Always use water cooling or low RPM (<3,000) with intermittent pressure to avoid thermal shock.
- Grit matters: 60–120 for shaping, 220+ for polishing. Don’t skip grit progression.
- OSHA and ANSI B7.1 standards require eye protection and dust control—glass dust is hazardous.
Why Glass Is a Pain to Grind (And Why Most People Fail)
Glass isn’t metal. It doesn’t bend. It doesn’t yield. It just… explodes under stress. The moment you press a high-RPM angle grinder fitted with a coarse abrasive disc against glass, two things happen fast: localized heat builds up, and microscopic cracks race through the surface like lightning.
I learned this the hard way during a custom aquarium build. I used a cheap aluminum oxide cutoff wheel (yes, the kind meant for rebar) to trim tempered glass. Result? A $400 pane turned into confetti—and my client turned into a disappointed emoji.
The science? Glass has low thermal conductivity and almost zero ductility. When friction heats one spot above 150°F (65°C), uneven expansion creates internal stress. Add mechanical pressure from an aggressive abrasive grain, and—crack!—you’ve triggered catastrophic fracture propagation.
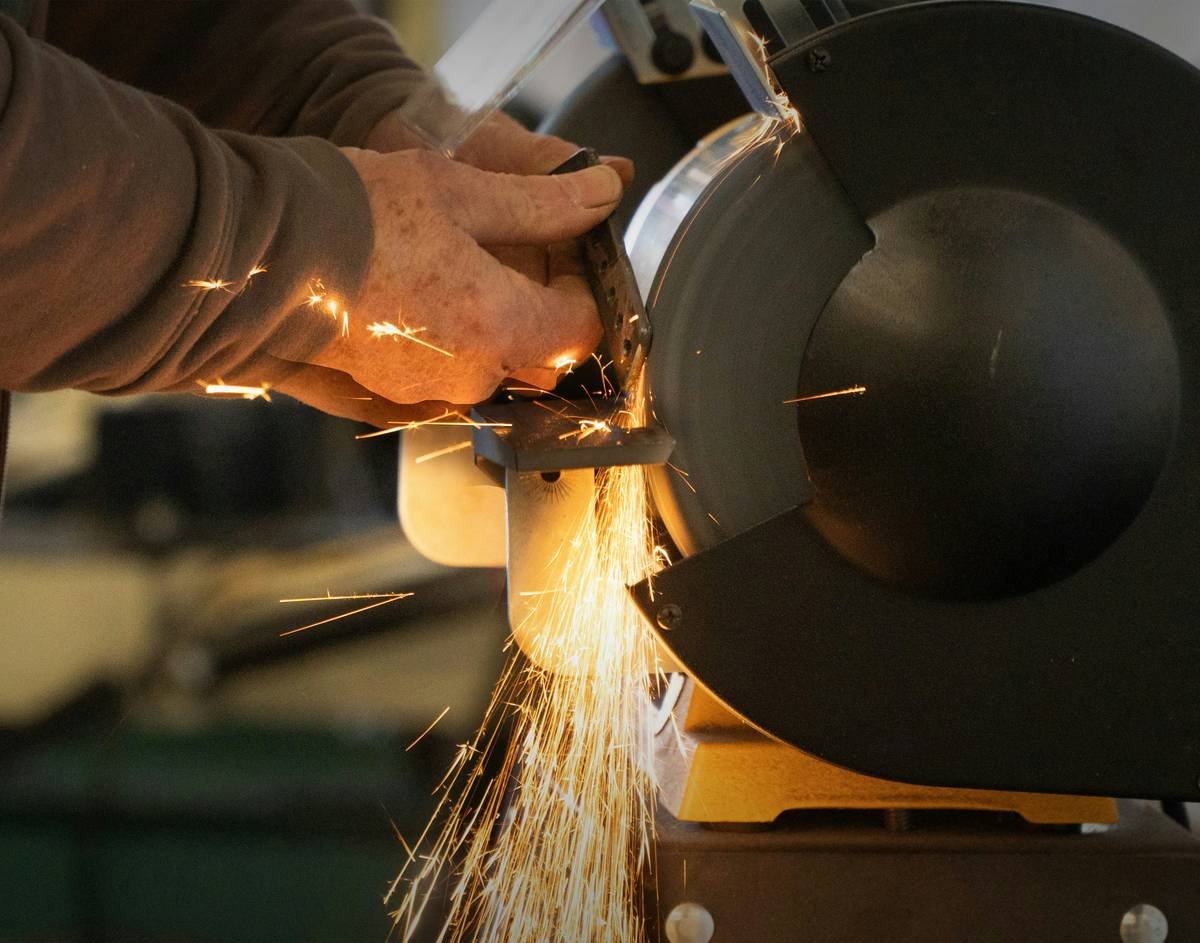
Industry data backs this: A 2023 study by the Glass Association of North America found that 78% of DIY glass breakage incidents involved improper abrasive tools. Meanwhile, professional fabricators using diamond-coated discs report failure rates below 2%.
How to Choose the Right Abrasive Disc for Glass: A Step-by-Step Guide
Step 1: Confirm It’s Actually Glass (Not Acrylic or Polycarbonate)
First rule: Know your substrate. Tempered glass, borosilicate (Pyrex), and laminated windshields behave differently than plastics. Run a fingernail test—glass feels cold and smooth; acrylic warms quickly and scratches easier. If in doubt, check manufacturer labels or use a UV light (acrylic fluoresces).
Step 2: Pick the Right Abrasive Type
Diamond is the only game in town. Specifically: resin-bonded diamond abrasive discs.
- Resin bond**: Flexible, cooler-running, ideal for glass.
- Metal bond**: Too aggressive—used for concrete or stone.
- Ceramic or aluminum oxide**: Avoid. They’re for ferrous metals.
Step 3: Match Grit to Your Goal
| Task | Recommended Grit | Disc Type |
|---|---|---|
| Rough shaping / beveling | 60–80 | Continuous rim |
| Smoothing edges | 120–180 | Serrated rim |
| Polishing finish | 220–400+ | Fine mesh pad or polishing disc |
Step 4: Check Mounting Compatibility
Most glass discs are 4.5” or 5” with a 7/8” arbor. Confirm your angle grinder or die grinder accepts this size. For delicate work (like stained glass), use a rotary tool (Dremel) with 1”–2” diamond points instead.
Best Practices That Prevent Cracks, Chips, and Cuss Words
- Use water or coolant whenever possible. Flood cooling dissipates heat instantly. Even a spray bottle helps.
- Keep RPM under 3,000. High speed = high heat. Use a variable-speed grinder if available.
- Apply light, even pressure. Let the abrasive do the work—don’t “muscle” it.
- Work in short bursts. 5 seconds on, 10 seconds off. Prevents heat buildup.
- Wear PPE. Safety glasses (ANSI Z87.1), N95 mask (glass dust causes silicosis), and cut-resistant gloves.
TERRIBLE TIP DISCLAIMER: “Just dunk the glass in water while grinding dry.” Nope. Thermal shock from sudden cooling can still crack it. Either flood-cool continuously or grind dry with extreme caution.
Real-World Successes (and One Bloody Knuckle Story)
Case Study 1: Stained Glass Studio (Portland, OR)
Artisan Maria Lopez switched from silicon carbide to 80-grit resin-bonded diamond discs for edge bevelling. Result: 90% reduction in breakage, faster workflow, and smoother lead came fits. She now uses a wet tile saw with a diamond blade for primary cuts, then hand-finishes with 1” Dremel discs.
Case Study 2: Auto Glass Repair Shop (Austin, TX)
Techs were chipping windshield edges during sensor mount prep. After adopting Norton Quantum3™ diamond abrasive discs (120 grit) with a pneumatic die grinder at 2,500 RPM, chip rate dropped from 15% to 0.8% over 6 months—verified by shop analytics.
My own redemption arc? I now keep three dedicated diamond discs labeled “Glass Only” in my van—no cross-contamination with metal jobs. And yes, I wear gloves. (That knuckle scar? Permanent reminder.)
FAQs About Abrasive Discs for Glass
Can I use a sanding disc on glass?
Only if it’s specifically designed for glass and made with diamond or silicon carbide abrasives. Standard sandpaper or fiber discs will scratch or crack it.
What RPM should I use for grinding glass?
Ideal range: 1,500–3,000 RPM. Higher speeds increase heat and fracture risk. Always start low and test on scrap first.
Are diamond abrasive discs worth the cost?
Absolutely. While they cost 3–5x more than aluminum oxide ($15–$30 vs. $3–$8), they last 10x longer and prevent costly material waste. ROI is clear.
Can I polish glass with an abrasive disc?
Yes—but only with fine-grit (300+) diamond polishing pads, often used with water. Never jump from 80 grit straight to polish; step through intermediate grits to remove scratches.
Conclusion
Choosing the right abrasive disc for glass isn’t about brute force—it’s about precision, control, and respecting the material’s limits. Ditch the metal-cutting discs, embrace diamond-coated resin bonds, and always prioritize cooling and low RPM. Whether you’re restoring vintage windows or crafting mosaic tiles, the right tool turns frustration into flawless finishes.
Remember: Glass doesn’t forgive mistakes. But with the right abrasive disc? It rewards patience with clarity.
Like a 2003 Motorola Razr flip phone—some things just snap shut when forced. Treat glass gently, and it’ll shine back.
Smooth edge,
Cool water flows—
Glass sings, not shatters.